标题:[Unity 3D] 1天开发闯关游戏_Part4_UI设计与响应 链接:Yew's Blog 日期:2024年1月10日
UI部分
制作游戏暂停效果
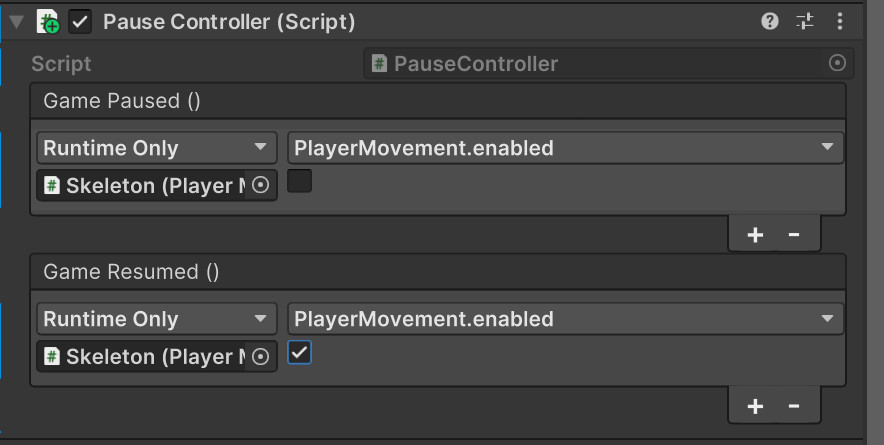
新建脚本 PauseController.cs,通过TimeScale来暂停游戏,并且调用了 UnityEvent 方法,可以绑定其他脚本中的值,让他们不被更新。
public class PauseController : MonoBehaviour
{
    public UnityEvent GamePaused;

    public UnityEvent GameResumed;

    private bool _isPaused;

    void Update()
    {
        if (Input.GetKeyDown(KeyCode.Escape))
        {
            _isPaused = !_isPaused;

            if (_isPaused)
            {
                Time.timeScale = 0;
                GamePaused.Invoke();
            }
            else
            {
                Time.timeScale = 1;
                GameResumed.Invoke();
            }
        }
    }
}
将脚本设置如下,可以暂停恢复 PlayerMovement 中的方法:
设置UI
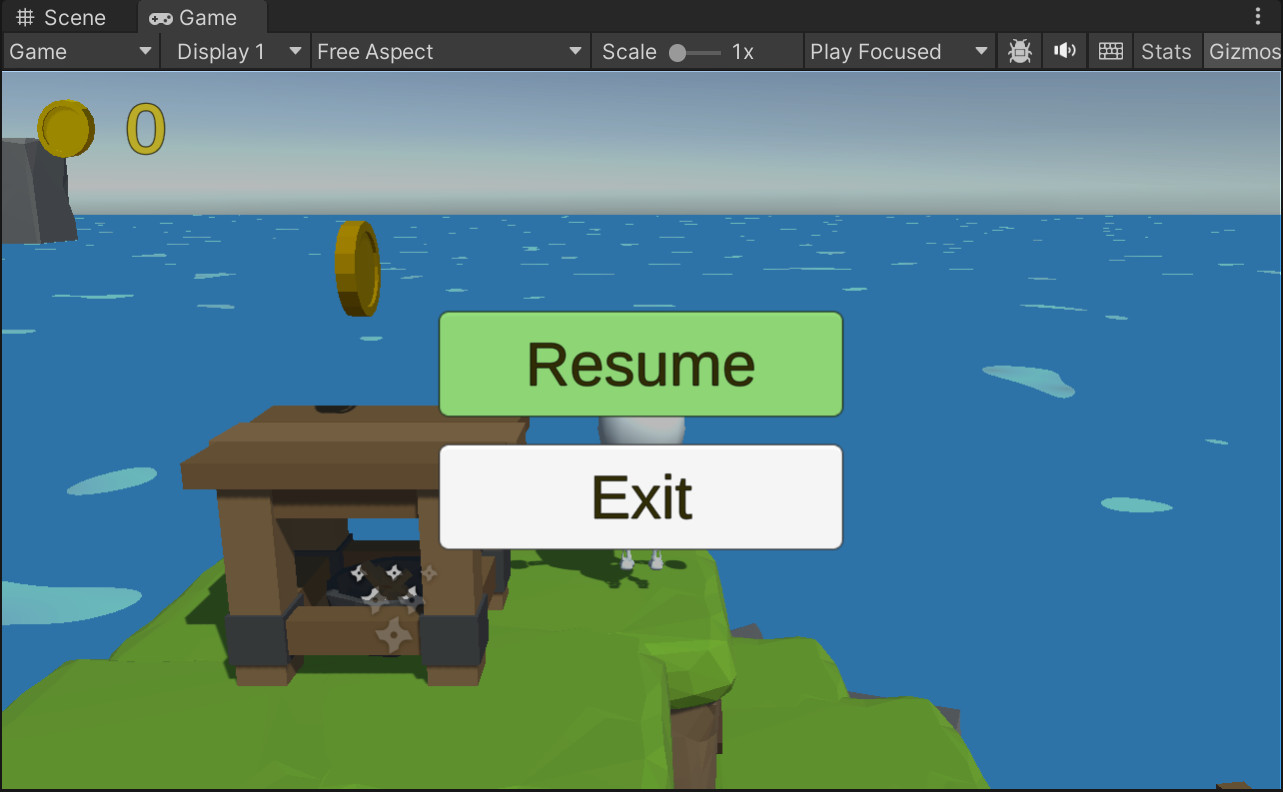
效果如下:
设置了UI之后,响应按钮的 OnClick 事件,做如下修改:
    private void Start()
    {
        resumeBtn.onClick.AddListener(ResumeGame);
        exitBtn.onClick.AddListener(ExitGame);
    }

    void Update()
    {
        if (Input.GetKeyDown(KeyCode.Escape))
        {
            _isPaused = !_isPaused;

            if (_isPaused)
            {
                PauseGame();
            }
            else
            {
                ResumeGame();
            }
        }
    }

    void ResumeGame()
    {
        pauseMenu.GetComponent<CanvasGroup>().alpha = 1;
        Time.timeScale = 0;
        GamePaused.Invoke();
    }

    void ExitGame()
    {
        Application.Quit();
    }

    void PauseGame()
    {
        pauseMenu.GetComponent<CanvasGroup>().alpha = 1;
        Time.timeScale = 0;
        GamePaused.Invoke();
    }
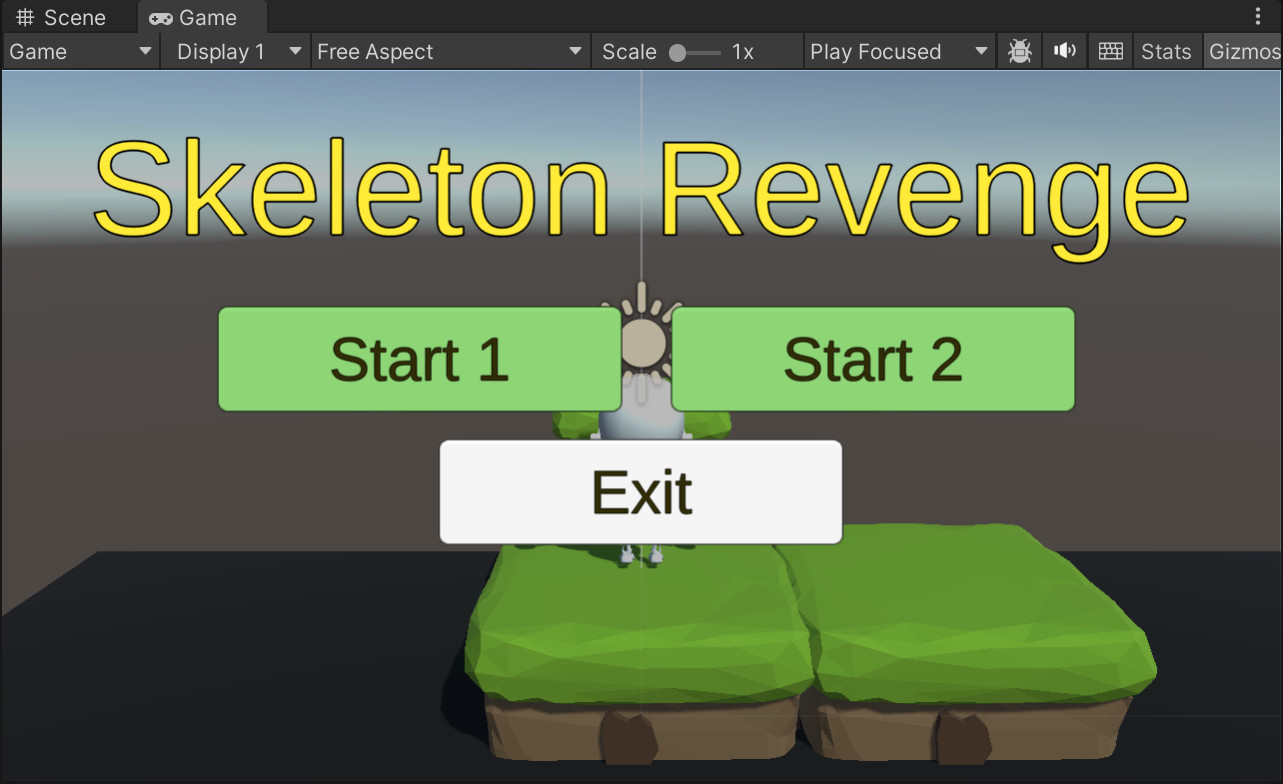
添加主菜单:MainScene
比较简单,时间紧,任务重,就不多介绍了:
写一个脚本并绑定到 UI 对象上:
public class MainMenu : MonoBehaviour
{
    public Button FirstBtn;
    public Button SecondBtn;
    public Button ThirdBtn;

    private void Start()
    {
        FirstBtn.onClick.AddListener(SceneOne);
    }

    void SceneOne()
    {
        SceneManager.LoadScene("Scene_01");
    }

    void SceneTwo()
    {
        SceneManager.LoadScene("Scene_02");
    }

    void Exit()
    {
        Application.Quit();
    }
}
标题:[Unity 3D] 1天开发闯关游戏_Part4_UI设计与响应 链接:Yew's Blog 日期:2024年1月10日